Perfect DIY At-Home Facial in 5 Easy steps
December 16, 2013 at 6:00 a.m.
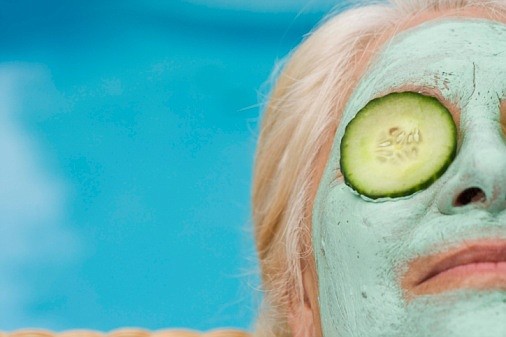
Do you daydream about sitting in a spa every week having your face slapped, scrubbed and slathered with beauty products? Well, snap out of it! Lavishing it up in a spa isn't cheap. Good to know a DIY at-home facial can give you the same flawless results for a fraction of the price.
Step 1: Clean it Up
Wash your face and neck with a gentle cleanser to get rid of makeup, dirt and oil. You don't need to spend your last dime on a cleanser for it to work. The trick is to get one that's right for your skin type. Consider a soap-free cleanser that will remove grime without drying your skin out.
Step 2: Exfoliate Away
Dampen your face and apply an exfoliator with your fingertips. Gently rub the product in a circular motion. Concentrate on the forehead and nose. These areas are hotspots for dead skin build-up.
Step 3: Steam Clean
An easy way to steam your face is to dip a wash cloth in warm water, put it on your face and let it sit for a minute. To reap the full benefit, repeat the process at least three times.
If you want to get really fancy, you can buy a facial steamer from the local drug store.
Step 4: Mask it
Apply a mask to your face and lie back for 20 minutes. Place a couple of cucumbers on your eyes and lie back until the mask is ready to come off. Get a mask that's right for your skin type. Clay-based masks work well on oily skin, and hydrating masks work better for dry skin.
Step 5: Slather on Moisturizer
Apply your favorite moisturizer to your face and neck. If you're not sure about the best moisturizer for your skin, use extra virgin coconut oil. A little of this stuff goes a long way and it works well on most skin types.
Who needs the spa? With these five tips, you can give yourself a royal DIY facial at home. You won't have to turn your piggy bank upside down, and the end results will be just as fabulous as having it done by a pro.
Latest Stories
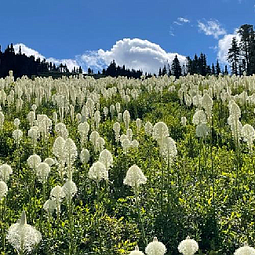
Where To See Wildflowers — And Avoid the Crowds
So, if you want to sing “The Hills Are Alive…” to the birds, rodents and you don't want to fight for parking or have hordes of people in your photos, here are the trips for you
READ MORE...
Volunteers Essential to Protecting Elders in Long Term Care
The Washington State Long-Term Care Ombudsman Program advocates for the rights of residents living in long term care
READ MORE...
55+ Travel Club
Be on the lookout for news about an exciting new Northwest Prime Time venture, the Northwest Senior Travel Club
READ MORE...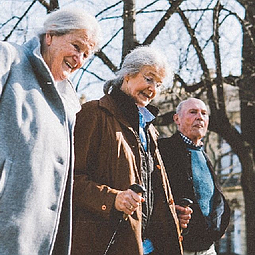
Steps Toward a Healthy and Independent Life
This workshop is entitled Steps Toward a Healthy and Independent Life
READ MORE...